


Your Cart is Empty
Explore Our Popular Categories
Explore Top Subscription Boxes with Cratejoy
-
Mother's Day Gift Shop
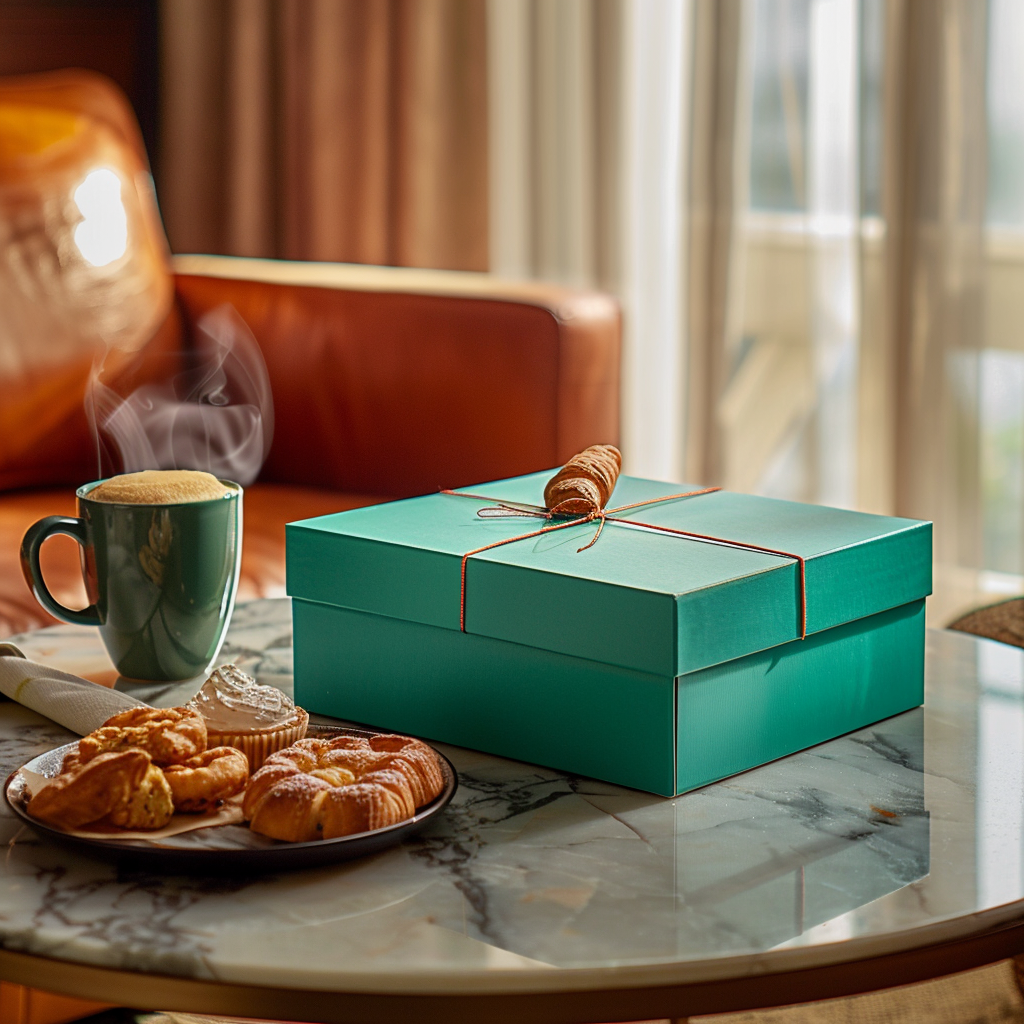
Explore GiftsDiscover the perfect gift in our curated collection of heartwarming boxes.
-


As featured in


Trending Gift Guides
Find The Perfect Gift For Your Favorite Person


Shop by Recipient
- Gifts for Women
- Gifts for Men
- Gifts for Kids
- Gifts for Teens
- Gifts for Mom
- Gifts for Dad
- Gifts for Girls
- Gifts for Boys
- Gifts for Seniors
- Team-Building Gifts

Shop by Interest
- Gifts for Book Lovers
- Kids' Educational Gifts
- Gifts for Foodies
- Gifts for Beauty Lovers
- Self-Care Gifts
- Gifts for Geeks
- Gifts for the Crafter
- Gifts for the Crime Junkie
- Gifts for Green Thumbs
- Gifts for the Animal Lover

Shop by Price
- Under $10
- Under $20
- Under $50
- Under $100
- Luxury Gifts
- 3 Month Gifts under $100
- 3 Month Gifts under $200
- 6 Month Gifts under $100
- 6 Month Gifts under $200


